

Automatic glass doors have become a common feature in modern homes, offices, and commercial buildings. They offer convenience, accessibility, and a touch of sophistication.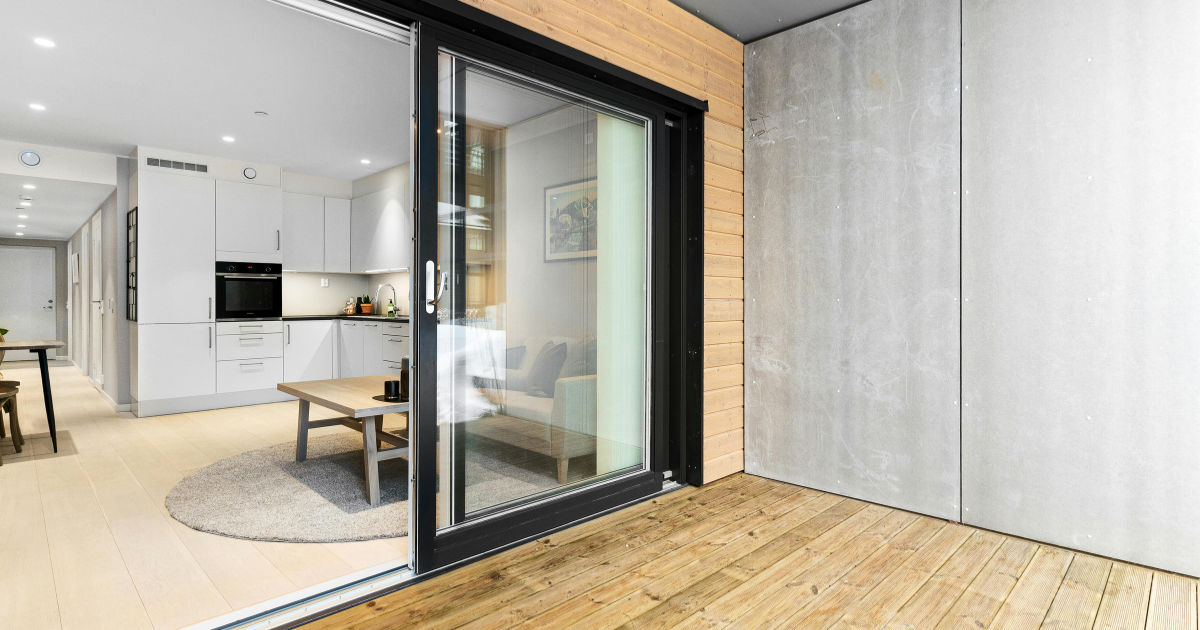
At the heart of these doors is the Automatic Glass Door Sensor, a device that detects motion or presence and triggers the door to open or close. Testing these sensors regularly is essential to ensure the doors operate safely and efficiently.
In this comprehensive guide, we will explore everything you need to know about testing an automatic glass door sensor, including methods, tools, safety tips, and troubleshooting.
Understanding Automatic Glass Door Sensors
Before diving into the testing process, it’s crucial to understand what an Automatic Glass Door Sensor does. These sensors are devices installed near or on automatic doors to detect the presence of a person, object, or vehicle. When the sensor detects movement, it sends a signal to the door’s control unit, triggering it to open. Once the sensor no longer detects movement, the door closes automatically.
Types of Automatic Glass Door Sensors
Automatic glass doors use several types of sensors. The most common ones include:
-
Infrared Sensors
These sensors detect heat signatures and movement. They are highly reliable and are often used in busy commercial spaces. -
Microwave Sensors
These sensors emit microwave signals and detect changes in the reflection caused by movement. They work well in environments with fluctuating temperatures. -
Pressure Sensors
Placed on the floor, these sensors detect weight or pressure. They are often used in areas where precise movement detection is required. -
Photoelectric Sensors
These sensors use a light beam. When the beam is interrupted, the door opens. They are ideal for detecting objects rather than people.
Understanding the type of sensor installed is important because the testing method may vary slightly depending on the technology used.
Why Testing Your Automatic Glass Door Sensor is Important
Testing your Automatic Glass Door Sensor ensures that the door operates safely and prevents accidents. Here are some key reasons to test sensors regularly:
-
Safety: Malfunctioning sensors can cause doors to close unexpectedly, leading to injuries.
-
Efficiency: A properly working sensor reduces unnecessary power consumption and wear on the door motor.
-
Longevity: Regular testing helps identify issues before they cause major mechanical failures.
-
Compliance: Many commercial buildings are required to maintain functional automatic doors to meet safety regulations.
Tools Needed for Testing an Automatic Glass Door Sensor
Testing an automatic glass door sensor requires minimal tools, but having the right equipment makes the process easier:
-
Multimeter: For checking electrical connections and voltage.
-
Screwdriver Set: To access sensor panels if needed.
-
Cleaning Cloth or Brush: Dust or dirt can affect sensor performance.
-
Test Objects: Items like cardboard, poles, or even your hand to trigger the sensor.
-
Manual or Manufacturer Instructions: Each sensor may have unique settings or testing procedures.
Step-by-Step Guide to Testing an Automatic Glass Door Sensor
Here’s a clear step-by-step guide to testing your Automatic Glass Door Sensor safely and effectively.
Step 1: Perform a Visual Inspection
Start by examining the sensor and door components for visible issues:
-
Check for dust, dirt, or obstructions on the sensor lens.
-
Ensure the sensor is securely mounted and not loose.
-
Look for any signs of physical damage, such as cracks or corrosion.
Cleaning the sensor lens is often sufficient to restore proper functionality if dirt is the issue.
Step 2: Check Power Supply
The sensor requires a consistent power supply to function:
-
Use a multimeter to measure voltage at the sensor’s terminals.
-
Verify that the sensor receives the correct voltage as specified by the manufacturer.
-
Inspect the wiring for loose connections or frayed cables.
If there is a power issue, address it before proceeding with further testing.
Step 3: Test Sensor Activation
Next, you want to check whether the sensor can detect motion:
-
Stand within the sensor’s detection range.
-
Move slowly across the sensor’s path to see if the door responds.
-
Test from different angles, as some sensors may have limited field coverage.
For photoelectric sensors, break the beam using a solid object and observe the door’s response.
Step 4: Test Sensor Response Time
An effective automatic glass door sensor should react quickly:
-
Time how long it takes for the door to open after triggering the sensor.
-
Compare the result with the manufacturer’s recommended response time.
-
A delay may indicate a problem with the sensor or control unit.
Step 5: Test Sensor Range and Sensitivity
Most sensors have adjustable detection ranges:
-
Check the door’s user manual for recommended settings.
-
Move slowly from the edge of the detection zone toward the sensor.
-
Observe if the door opens consistently at the expected range.
Adjust sensitivity settings if the door does not react properly or triggers too easily.
Step 6: Test Safety Features
Automatic glass doors often include safety features like obstacle detection:
-
Place an object in the door’s closing path.
-
The door should stop or reverse immediately to prevent damage or injury.
-
Repeat the test at various positions to ensure consistent safety performance.
Step 7: Document Your Findings
After testing, record your observations:
-
Note any sensor malfunctions or delays.
-
Document adjustments made to sensitivity or range.
-
Keep a maintenance log to track recurring issues and maintenance schedules.
Common Issues with Automatic Glass Door Sensors
Even with proper testing, issues may arise. Some common problems include:
-
Door Fails to Open
Causes may include power issues, blocked sensors, or misaligned sensors. -
Door Opens Randomly
This may happen if the sensor detects false movement due to reflections or interference. -
Slow Door Response
Often caused by low power supply, worn-out sensors, or mechanical resistance in the door system. -
Intermittent Operation
Loose wiring, sensor misalignment, or environmental factors like wind or vibration can cause this.
Maintenance Tips for Automatic Glass Door Sensors
Regular maintenance can prevent most sensor problems. Consider the following tips:
-
Clean sensor lenses weekly to prevent dust accumulation.
-
Inspect wiring and connectors monthly.
-
Test sensor response regularly, ideally every three months.
-
Keep a record of all maintenance and testing activities.
-
Avoid placing reflective objects near sensors to prevent false triggers.
Advanced Sensor Testing Methods
For those who want a deeper level of testing:
Using a Multimeter for Electrical Testing
-
Disconnect the sensor from the control unit.
-
Measure resistance across terminals to check for internal circuit issues.
-
Compare readings with the manufacturer’s specifications.
Using an Oscilloscope
-
This tool can analyze the sensor’s signal output in real-time.
-
Detects irregularities in the sensor’s response that may not be obvious with visual inspection.
Firmware and Software Testing
-
Some modern sensors include programmable controllers.
-
Use the manufacturer’s software to run diagnostic tests and adjust parameters digitally.
Safety Precautions When Testing Sensors
While testing an Automatic Glass Door Sensor, safety is crucial:
-
Always switch off the door’s main power supply when accessing wiring.
-
Use insulated tools to avoid electric shocks.
-
Keep hands and objects away from moving doors during tests.
-
Ensure that testing is done in a controlled environment, especially in busy public areas.
Troubleshooting Common Sensor Problems
Here’s a quick troubleshooting guide:
| Problem | Possible Cause | Solution |
|---|---|---|
| Door does not open | Power issue or blocked sensor | Check power supply and clean sensor |
| Door opens randomly | Reflective surfaces or sensitivity too high | Adjust sensitivity or remove reflective objects |
| Door closes too fast | Sensor misalignment or mechanical issue | Re-align sensor and check door motor |
| Intermittent operation | Loose wiring or environmental interference | Secure wiring, adjust sensor range |
Professional Testing and Maintenance
Sometimes, professional assistance is required:
-
Certified technicians have specialized tools and knowledge.
-
They can calibrate sensors precisely and replace faulty components.
-
Professional inspections are recommended for commercial installations to comply with safety regulations.
Conclusion
Testing an Automatic Glass Door Sensor is essential to maintain safety, efficiency, and longevity. By following a structured testing process—visual inspection, power checks, activation testing, response time evaluation, and safety tests—you can ensure your automatic doors operate reliably. Regular maintenance, proper cleaning, and timely troubleshooting prevent accidents and reduce costly repairs. Remember, whether for home or commercial use, consistent monitoring and testing of your automatic glass doors will keep them performing optimally for years.
Investing time in understanding and testing your sensors not only protects people and property but also enhances the convenience that automatic doors promise. Keep your maintenance logs up to date and address any issues immediately to ensure your doors are always ready to function safely.